A bathroom vanity cabinet serves as the centerpiece of any bathroom renovation, combining form and function in one essential fixture. For homeowners looking to update their space without replacing the entire vanity and sink assembly, choosing a vanity cabinet only, the storage base without countertop or sink, offers flexibility and savings. This approach works especially well for those with existing countertops they want to keep or who plan to source components separately. In 2026, more DIYers and designers are recognizing the value of going modular: select the cabinet that fits your style and storage needs, then pair it with the sink, faucet, and countertop of your choice. This strategy puts control (and often cost savings) back in your hands.
Key Takeaways
- A bathroom vanity cabinet only provides flexible, cost-effective bathroom updates by letting you choose the cabinet, sink, countertop, and faucet separately instead of buying bundled packages.
- Cabinet-only options typically range from $150 to $900 depending on material quality, compared to full vanity packages that often cost $800 to $2,000 or more.
- Prioritize moisture-resistant materials like solid wood or quality plywood with proper sealing and finished interior surfaces to ensure durability in humid bathroom environments.
- Vanity cabinet dimensions matter: standard widths are 24–48 inches, depth is typically 21 inches, and height before countertop is 30–34 inches—confirm these measurements before installation.
- Secure the cabinet to wall studs with 2.5-inch wood screws (minimum three per cabinet), verify plumbing alignment, and test for leaks before reinstalling doors and drawers to ensure a leak-free installation.
What Is A Bathroom Vanity Cabinet?
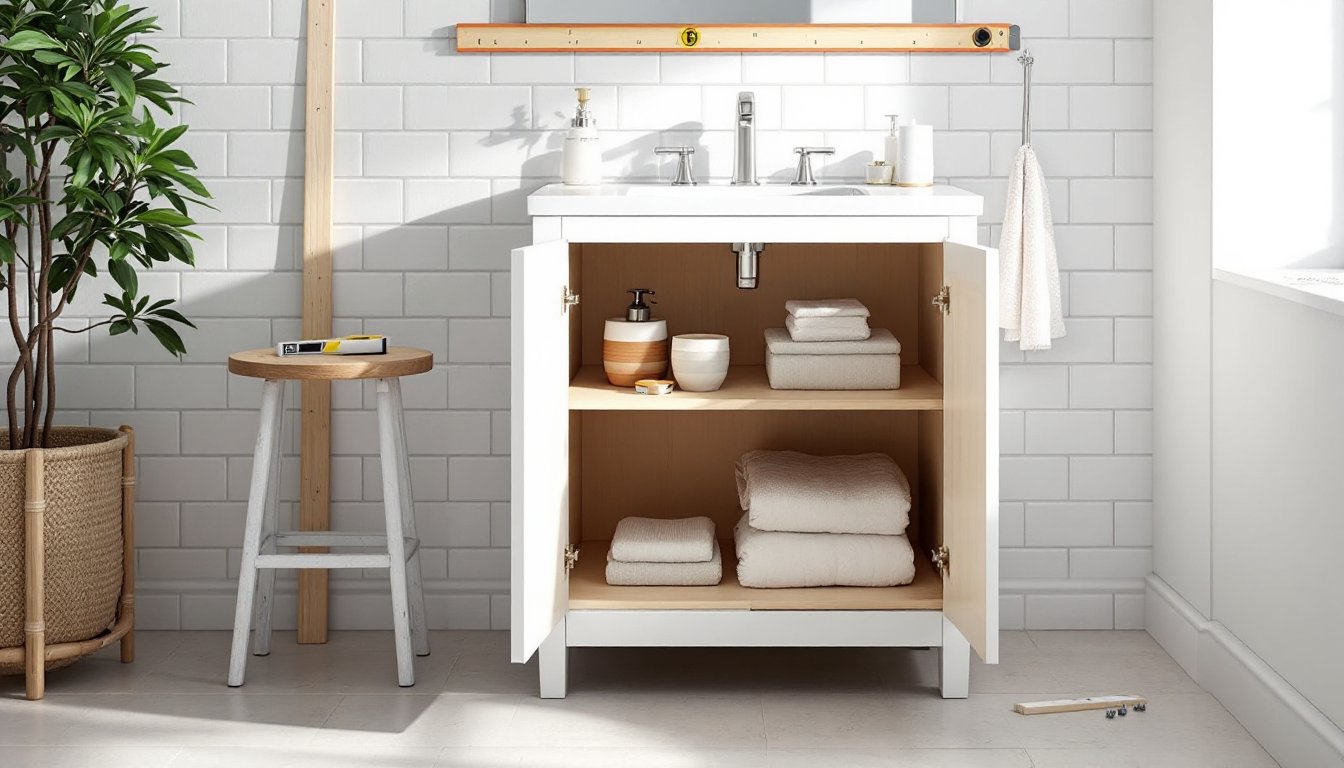
A bathroom vanity cabinet is the freestanding or wall-mounted storage unit that sits beneath your sink. Unlike a full vanity package, which includes the countertop and sometimes the sink, a cabinet-only option is just the base structure, typically made from wood, plywood, or engineered materials. It houses the plumbing rough-in (pipes and drains) and provides drawers and shelving for towels, toiletries, and cleaning supplies.
These cabinets come in standard widths: 24 inches, 30 inches, 36 inches, and 48 inches are most common. Most sit about 30 to 34 inches tall (before the countertop), leaving roughly 18 to 24 inches of clearance from the counter surface to a wall-hung mirror or shelving. A vanity cabinet is typically 21 inches deep, though some shallow designs measure 18 inches. Understanding these dimensions is crucial before ordering or installing, as they determine fit, storage capacity, and how your bathroom’s workflow feels.
Why Choose Vanity Cabinet-Only Options
Selecting a vanity cabinet without a countertop or sink gives homeowners a level of control that bundled packages rarely offer. You’re not locked into a specific faucet style, countertop material, or color combination that some manufacturer decided would work together. This separation of components is where both savings and smart design live.
Cost Savings and Flexibility
Full vanity packages often bundle a cabinet with a countertop and sometimes a sink, driving up the total cost and limiting options if you dislike any single element. When you buy the cabinet separately, you can shop for each component at your own pace. If you already own a quartz or granite countertop you love, or can salvage one from a vintage restoration find, there’s no reason to replace it. A new cabinet underneath breathes fresh life into the space without waste.
Budget flexibility matters too. A solid hardwood vanity cabinet might run $400 to $900, depending on size and finish, while engineered wood options range from $150 to $400. That’s money saved versus a full package, which often costs $800 to $2,000 or more. You can then invest those savings into a premium faucet, statement countertop, or professional installation if needed.
Design and Customization Benefits
A cabinet-only approach opens the door to mixing styles. Pair a transitional white shaker cabinet with a sleek matte-black vessel sink and industrial faucet. Or use a warm walnut cabinet with a honed marble countertop and traditional brass fixtures. Retailers and custom cabinetmakers now offer vanity cabinets in virtually any finish, matte, glossy, stained, painted, so you’re not limited to what a package deal offers.
Interior designers and remodelers use this strategy constantly. They source the cabinet for its style and storage layout, then hand-pick the sink, faucet, and countertop to create a cohesive look that reflects the homeowner’s actual taste, not a marketer’s guess.
Key Features to Look For
Not all vanity cabinets are built equally. The difference between a cabinet that lasts 10 years and one that lasts 25 often comes down to material selection, construction quality, and internal organization.
Start by checking the cabinet box material. Solid wood (oak, maple, or walnut) is durable and repairable but costs more and requires finishing care in humid bathrooms. Plywood or birch veneer offers good stability and durability at a mid-range price. Engineered wood (MDF or particleboard) is affordable but vulnerable to water damage if the cabinet isn’t sealed or if moisture penetrates the edges. Look at the edge banding, solid wood or vinyl edge banding on engineered cores holds up better than exposed particleboard.
Examine the interior construction. Are the shelves fixed or adjustable? Adjustable shelves let you adapt storage over time, crucial if your towel and product collection grows. Check whether the cabinet includes a center stile (a divider between two sink openings) if it’s a double vanity: this stile braces the cabinet and prevents it from racking (twisting out of square) over time.
Material Quality and Durability
Moisture resistance is non-negotiable in a bathroom. Solid wood needs proper sealing: plywood with a quality veneer naturally resists moisture better than bare particleboard. If you live in a high-humidity climate (coastal areas, tropical regions), prioritize hardwood plywood or solid wood construction.
Check the finish quality. A factory-applied lacquer or polyurethane is more moisture-resistant than paint applied on-site. Ask the supplier whether the interior surfaces (shelves, walls) are finished or raw. Raw interiors absorb moisture and lead to swelling or mold. Many quality cabinets include a sealant or moisture barrier on interior surfaces.
Door and drawer construction matters. Mortise-and-tenon joinery at corners is stronger than butt joints or pocket holes, though the latter are acceptable in mid-range products if they’re executed cleanly. Drawers should run on soft-close slides or at least ball-bearing slides, not cheap plastic glides that jam after a year. A quality push-to-open latch (or magnetic catch) is a small detail that prevents frustration.
Finally, confirm that the cabinet is pre-drilled for standard faucet spacing, typically 4 inches center-to-center or 8 inches for a widespread faucet. Some cabinets come ready for undermount or vessel sinks: others require custom drilling. Knowing this upfront prevents installation delays.
Installation and Setup Tips
Installing a vanity cabinet is manageable for a handy homeowner, but it demands precision and patience. Skip the prep work, and you’ll pay for it in a wobbly, leaking mess.
Measure twice, cut once, or better yet, measure three times. Measure the width and depth of your space, the height from the floor to where the countertop will sit, and the location of plumbing rough-ins (drain and water lines). Mark the wall studs behind where the cabinet will go: you’ll need to anchor the cabinet to studs, not just drywall. Use a stud finder and mark studs with a pencil.
Before moving the cabinet into place, remove the doors and drawers. This dramatically reduces weight and makes maneuvering easier, especially in tight spaces. A typical vanity cabinet weighs 80 to 150 pounds empty: with water and supplies inside, that number climbs fast. Consider calling a helper, not just for safety, but for a smoother process overall.
Position the cabinet and check that it’s level front-to-back and side-to-side using a 2-foot level. Shim the base as needed with composite shims, not wood shims (which compress over time in damp bathrooms). Once level, fasten the cabinet to the wall studs using 2.5-inch wood screws through the back upper rail into the studs, typically three screws minimum for a 36-inch cabinet. Don’t skip this step: an unsecured cabinet can tip forward if someone leans on the countertop or opens a drawer with force.
Check the plumbing rough-in openings in the back of the cabinet. If they don’t align perfectly with your drain and supplies, you may need to drill new holes or relocate rough-in pipes. This is a good moment to call a licensed plumber if you’re unsure: plumbing mistakes lead to leaks that destroy cabinetry fast.
Install the countertop according to its material: solid surface and quartz typically sit on adhesive and are fastened to the cabinet frame: marble and granite may require brackets underneath. Some sinks mount from above (drop-in), others from below (undermount). Your sink manual and countertop supplier will specify the method. Use silicone caulk (not adhesive caulk) at seams between the countertop and wall: silicone remains flexible and resists mold better.
Once the countertop and sink are installed and sealed, reconnect the P-trap and supply lines, then test for leaks with the sink running at full flow for several minutes. Check underneath the cabinet with a flashlight and touch everything dry with a cloth: any dampness signals a leak that needs attention immediately.
Reinstall doors and drawers last, after all plumbing is tested and sealed. Adjust hinges and slides so doors close smoothly and drawers glide without binding. A small investment in quality hinges pays off: cheap ones sag and wear out quickly in humid bathrooms.